Rematch 源码解读系列的第 1️⃣ 篇,对比 Rematch 和 Redux。
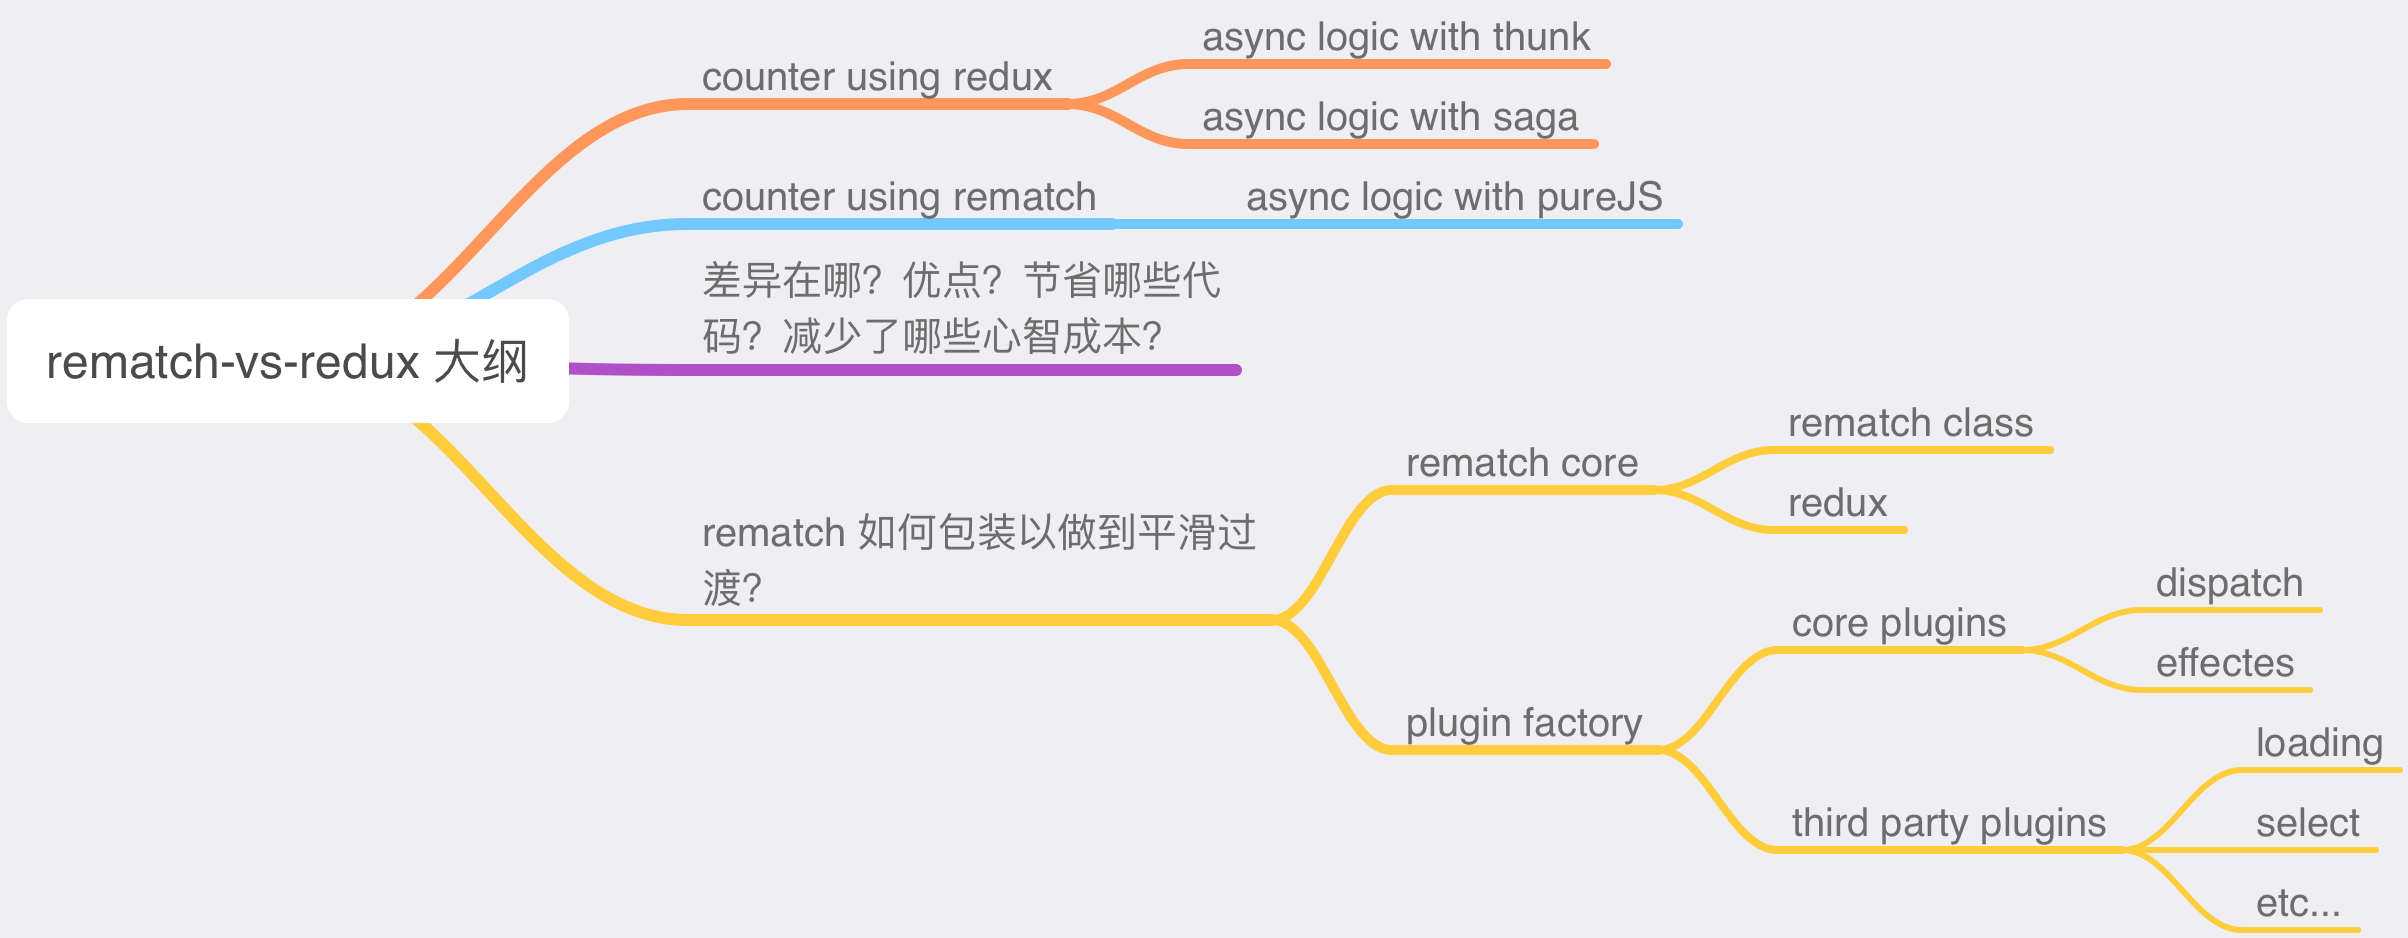
看完 【译】重新设计 Redux 后,这篇文章会继续聊聊 Rematch 和 Redux 的区别。我将分别用 Redux 和 Rematch 实现一个简易的计数器(Counter),其中 Redux 实现版本中对异步的处理分别使用 redux-thunk 和 redux-saga。通过这个例子,我们来比较 Rematch 和 Redux 的差异,以及 Rematch 的优点在哪(减少了哪些学习成本,减少了哪些代码等等),最后,来讲讲 Rematch 如何包装 Redux,来做到平滑过渡的,这将涉及到 Rematch 的代码架构,我把它分成了几个部分,在后面的文章中会逐一讲解。
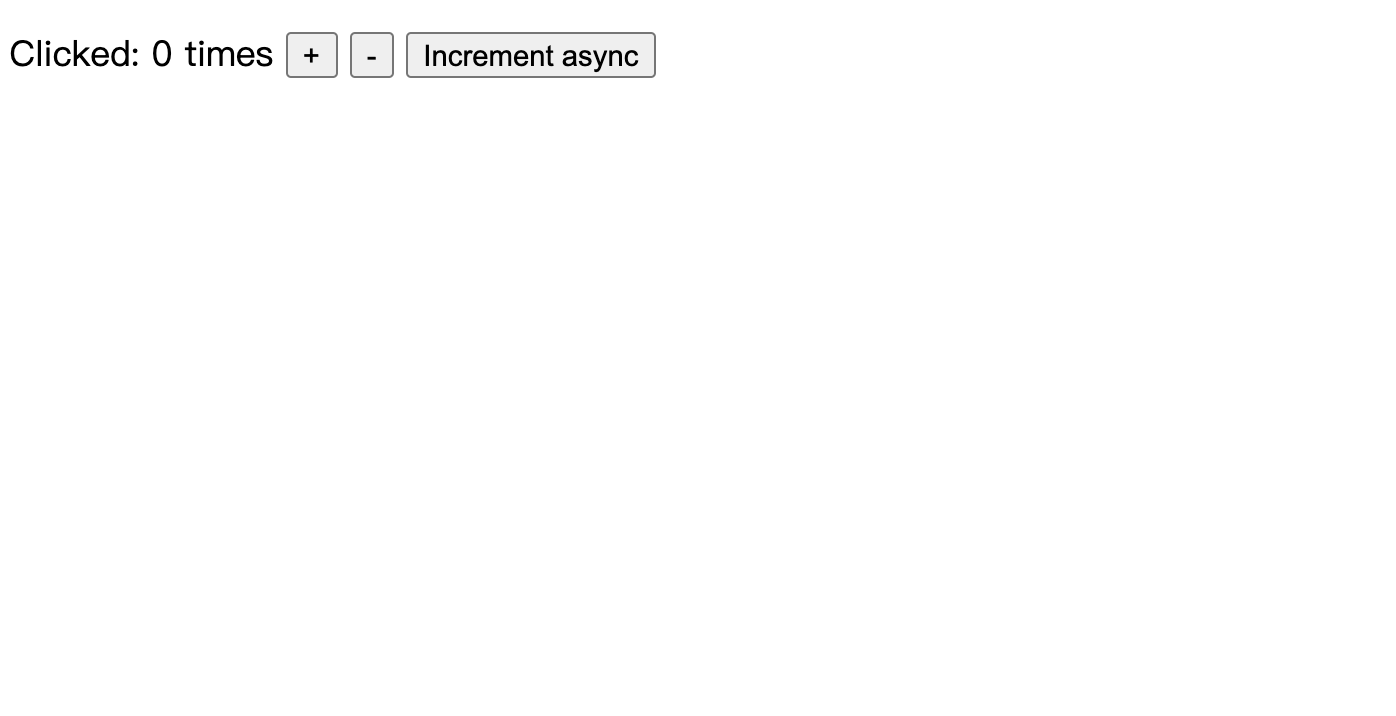
下面我会用 Redux 和 Rematch 分别实现一个 React 版本的简易计数器,计数器包含增加、减少和异步增加功能。
页面截图如下:
纯 Redux 实现版本中,对于异步增加功能的实现,一种方案使用了 redux-thunk,另一种使用了 redux-saga。
目录结构很简单:
1
2
3
4
5
6
| src
|—— components
| |—— Counter.js
|—— reducers
| |—— index.js
|—— index.js
|
其中 components/Counter.js 代码如下:
 1
 2
 3
 4
 5
 6
 7
 8
 9
10
11
12
13
14
15
16
17
18
19
20
21
22
23
24
| import React, { Component } from "react";
import PropTypes from "prop-types";
class Counter extends Component {
render() {
const { value, onIncrement, onDecrement, onIncrementAsync } = this.props;
return (
<p>
Clicked: {value} times <button onClick={onIncrement}>+</button>{" "}
<button onClick={onDecrement}>-</button>{" "}
<button onClick={onIncrementAsync}>Increment async</button>
</p>
);
}
}
Counter.propTypes = {
value: PropTypes.number.isRequired,
onIncrement: PropTypes.func.isRequired,
onDecrement: PropTypes.func.isRequired,
onIncrementAsync: PropTypes.func.isRequired,
};
export default Counter;
|
reducers/index.js 代码如下:
 1
 2
 3
 4
 5
 6
 7
 8
 9
10
| export default (state = 0, action) => {
switch (action.type) {
case "INCREMENT":
return state + 1;
case "DECREMENT":
return state - 1;
default:
return state;
}
};
|
而 index.js 中的代码,由于包含异步逻辑,因此按使用的方案不同,代码也有差异,下面分别说明。
完整代码请点击
如果异步使用 redux-thunk,index.js 中代码如下:
 1
 2
 3
 4
 5
 6
 7
 8
 9
10
11
12
13
14
15
16
17
18
19
20
21
22
23
24
25
26
27
28
29
30
31
32
33
34
35
36
| import React from "react";
import ReactDOM from "react-dom";
import { applyMiddleware, createStore } from "redux";
import Counter from "./components/Counter";
import counter from "./reducers";
import thunk from "redux-thunk";
const store = createStore(counter, applyMiddleware(thunk));
const rootEl = document.getElementById("root");
function fakeAsyncLogic() {
return new Promise(function (rs) {
setTimeout(rs, 1000);
});
}
function makeAsyncIncrementAction() {
return async function (dispatch) {
await fakeAsyncLogic();
dispatch({ type: "INCREMENT" });
};
}
const render = () =>
ReactDOM.render(
<Counter
value={store.getState()}
onIncrement={() => store.dispatch({ type: "INCREMENT" })}
onDecrement={() => store.dispatch({ type: "DECREMENT" })}
onIncrementAsync={() => store.dispatch(makeAsyncIncrementAction())}
/>,
rootEl
);
render();
store.subscribe(render);
|
使用了 thunk 中间件以后,dispatch() 可以接收函数作为参数,然后 redux store 会将 dispatch 和 getState 作为参数传入该函数中,这样一来,如果该函数是异步函数,则可以实现异步派发 action。
完整代码请点击
如果异步使用 redux-saga,index.js 中代码如下:
 1
 2
 3
 4
 5
 6
 7
 8
 9
10
11
12
13
14
15
16
17
18
19
20
21
22
23
24
25
26
27
28
| import React from "react";
import ReactDOM from "react-dom";
import { createStore, applyMiddleware } from "redux";
import createSagaMiddleware from "redux-saga";
import Counter from "./components/Counter";
import counter from "./reducers";
import defaultSaga from "./reducers/saga";
const sagaMiddleware = createSagaMiddleware();
const store = createStore(counter, applyMiddleware(sagaMiddleware));
const rootEl = document.getElementById("root");
sagaMiddleware.run(defaultSaga);
const render = () =>
ReactDOM.render(
<Counter
value={store.getState()}
onIncrement={() => store.dispatch({ type: "INCREMENT" })}
onDecrement={() => store.dispatch({ type: "DECREMENT" })}
onIncrementAsync={() => store.dispatch({ type: "INCREMENT_ASYNC" })}
/>,
rootEl
);
render();
store.subscribe(render);
|
除了中间件配置代码那里的不同,saga 不是像 redux-thunk 那样派发一个函数作为 action,而是需要定义一些 saga 的异步逻辑(使用 saga 自带的一些异步 API),因此,src/reducers 目录下增加一个 saga.js:
 1
 2
 3
 4
 5
 6
 7
 8
 9
10
11
12
13
14
| import { takeEvery, call, put } from "redux-saga/effects";
async function fakeAsyncLogic() {
return new Promise((rs) => setTimeout(rs, 1000));
}
function* increamentAsync() {
yield call(fakeAsyncLogic);
yield put({ type: "INCREMENT" });
}
export default function* defaultSaga() {
yield takeEvery("INCREMENT_ASYNC", increamentAsync);
}
|
saga 使用迭代器函数(generator)来更加精细地控制异步流。上面代码导出了一个默认 saga 函数,takeEvery("INCREMENT_ASYNC", increamentAsync) 表示监听所有 action.type 为 INCREMENT_ASYNC 的 action,一旦监听到,执行 increamentAsync() 函数,在该函数中,使用 call(fakeAsyncLogic) 模拟异步调用,然后使用 put({ type: "INCREMENT" }) 来派发一个 action,最终这个 action 会使得 reducer 执行。
完整代码请点击
Rematch 中没有单独的 reducers,reducer 都归属于一个数据结构叫做 model,因此目录结构稍有不同(将 reducers 换为 models):
1
2
3
4
5
6
| src
|—— components
| |—— Counter.js
|—— models
| |—— index.js
|—— index.js
|
Counter.js 中代码不变,models/index.js 中代码如下:
 1
 2
 3
 4
 5
 6
 7
 8
 9
10
11
12
13
14
15
16
17
18
19
20
21
22
23
| async function fakeAsyncLogic() {
return new Promise((rs) => {
setTimeout(rs, 1000);
});
}
export const count = {
state: 0,
reducers: {
increment: (state) => {
return state + 1;
},
decrement: (state) => {
return state - 1;
},
},
effects: (dispatch) => ({
async incrementAsync() {
await fakeAsyncLogic();
dispatch.count.increment();
},
}),
};
|
可以看到,我们定义了一个叫做 count 的 model,其中包含了 state,reducers 以及 effectes,state 是归属于该 model 的数据,相当于 redux 中 reducer 函数的第一个参数(或者其返回值)。reducers 等同于 redux reducer,而最后的 effects 则是一些有副作用的逻辑(例如异步的接口调用等等)。
最后是 index.js:
 1
 2
 3
 4
 5
 6
 7
 8
 9
10
11
12
13
14
15
16
17
18
19
20
21
22
23
| import { init } from "@rematch/core";
import React from "react";
import ReactDOM from "react-dom";
import Counter from "./components/Counter";
import * as models from "./models";
const store = init({ models });
// const store = createStore(counter, applyMiddleware(thunk));
const rootEl = document.getElementById("root");
const render = () =>
ReactDOM.render(
<Counter
value={store.getState().count}
onIncrement={store.dispatch.count.increment}
onDecrement={() => store.dispatch({ type: "count/decrement" })}
onIncrementAsync={() => store.dispatch({ type: "count/incrementAsync" })}
/>,
rootEl
);
render();
store.subscribe(render);
|
此时 store 不再需要用 redux 的 API createStore 创建,而是使用 rematch 的 init。这里还需要注意 2 点:
- 此时
store.getState() 返回的不再是一个数值,而是 { count: number } store.dispatch 不仅仅是一个函数(维持 redux 调用方式),同时支持了 dispatch.modelName.xxx 这样调用一个 reducer 或者 effect。不过需要注意的是,action.type 此时为 modelName/reducerName 或者 modelName/effectName 这种形式
前面提到过,rematch 中的最小组成单元就是一个 model。因此上述的改动也是为了兼容 model 这种形式。
通过上面的例子,可以看出两者有如下几点不同:
- 如果使用 redux,异步需要单独使用中间件,例如 thunk 或 saga。而 rematch 中可以直接使用 ES 的
async/await 异步语法来实现异步派发 action。 - redux 中没有 model 的概念,如果 state 结构复杂,可以使用 combineReducers 来合并不同的 reducer,同时形成一个类似的 state 结构。而 rematch 原生支持。
- redux 的
store.dispatch 就是一个函数。但 rematch 中保留了函数功能,同时提供了链式调用的方式。
由于上面例子比较简单,因此差异不多。更多差异可以参考【Rematch 源码系列】零、重新设计 Redux。这里再提两点比较常见的差异:
- redux 更多的使用了函数式编程的思想,例如 store 初始化时,其提供了一个工具函数
compose 用于组合 store enhancer。 - 简化的 reducer,主要包括省略了
action.type 常量定义,省略了 reducer 中的 switch/case 分支判断,因此 rematch 中的 model 的一个 reducer 就相当于一个 case 分支,其 name 就相当于 action.type。
个人觉得,rematch 优于 redux 的主要在于三个地方:
- 更”合理“的数据结构设计,rematch 使用 model 的概念,整合了 state, reducer 以及 effect,这种整合在前端开发中非常实用,例如可以针对不同的页面路由设计不同的 model。
- 更简洁的 API 设计,redux 中使用的函数组合配置方法,对于不熟悉函数式编程的开发者来说,一开始可能比较困惑,而 rematch 使用的是基于对象的配置项,更加易于上手。
- 更少的代码。
- 移除了 redux 中大量的
action.type 常量以及分支判断 - 原生语法支持异步,无需使用中间件。使用 saga 有一定学习成本,使用 thunk,派发的 action 类型各异,也会产生一定困惑
除此之外,rematch 还提供了插件机制,除了社区开发的很多插件,我们还可以进行定制开发,关于插件会在后面文章中详细介绍。
我们知道,rematch 其实只是基于 redux 的包装,它把 redux 复杂的语法变得简单化了:
Rematch is Redux best practices without the boilerplate.
正因为如此,它顶层还是 redux,并没有减弱 redux 的功能。那么,rematch 是如何做到的,他是如何设计的?我接下来会基于 rematch v1.4.0(rematch v1 的最后一个版本)来讲解 rematch 核心代码结构。
注:译者参与推动了 rematch v2 的更新,会在后面专门写一篇文章介绍 rematch v1 到 v2 的变化。此处使用 v1,是因为代码逻辑并无根本变化,v1 更易于阅读和理解,而 v2 风格变化较大。
先来看看 rematch v1.4.0 的代码目录结构:
 1
 2
 3
 4
 5
 6
 7
 8
 9
10
11
12
13
14
15
16
17
18
19
20
21
| ...
plugins
|—— ...
|—— loading
|—— immer
|—— select
src
|—— plugins
| |—— dispatch.ts
| |—— effects.ts
|—— typings
| |—— index.ts
|—— utils
| |—— deprecate.ts
| |—— isListener.ts
| |—— mergeConfig.ts
| |—— validate.ts
|—— index.ts
|—— pluginFactory.ts
|—— redux.ts
|—— rematch.ts
|
我将 rematch 的代码拆分如下几个组成部分:
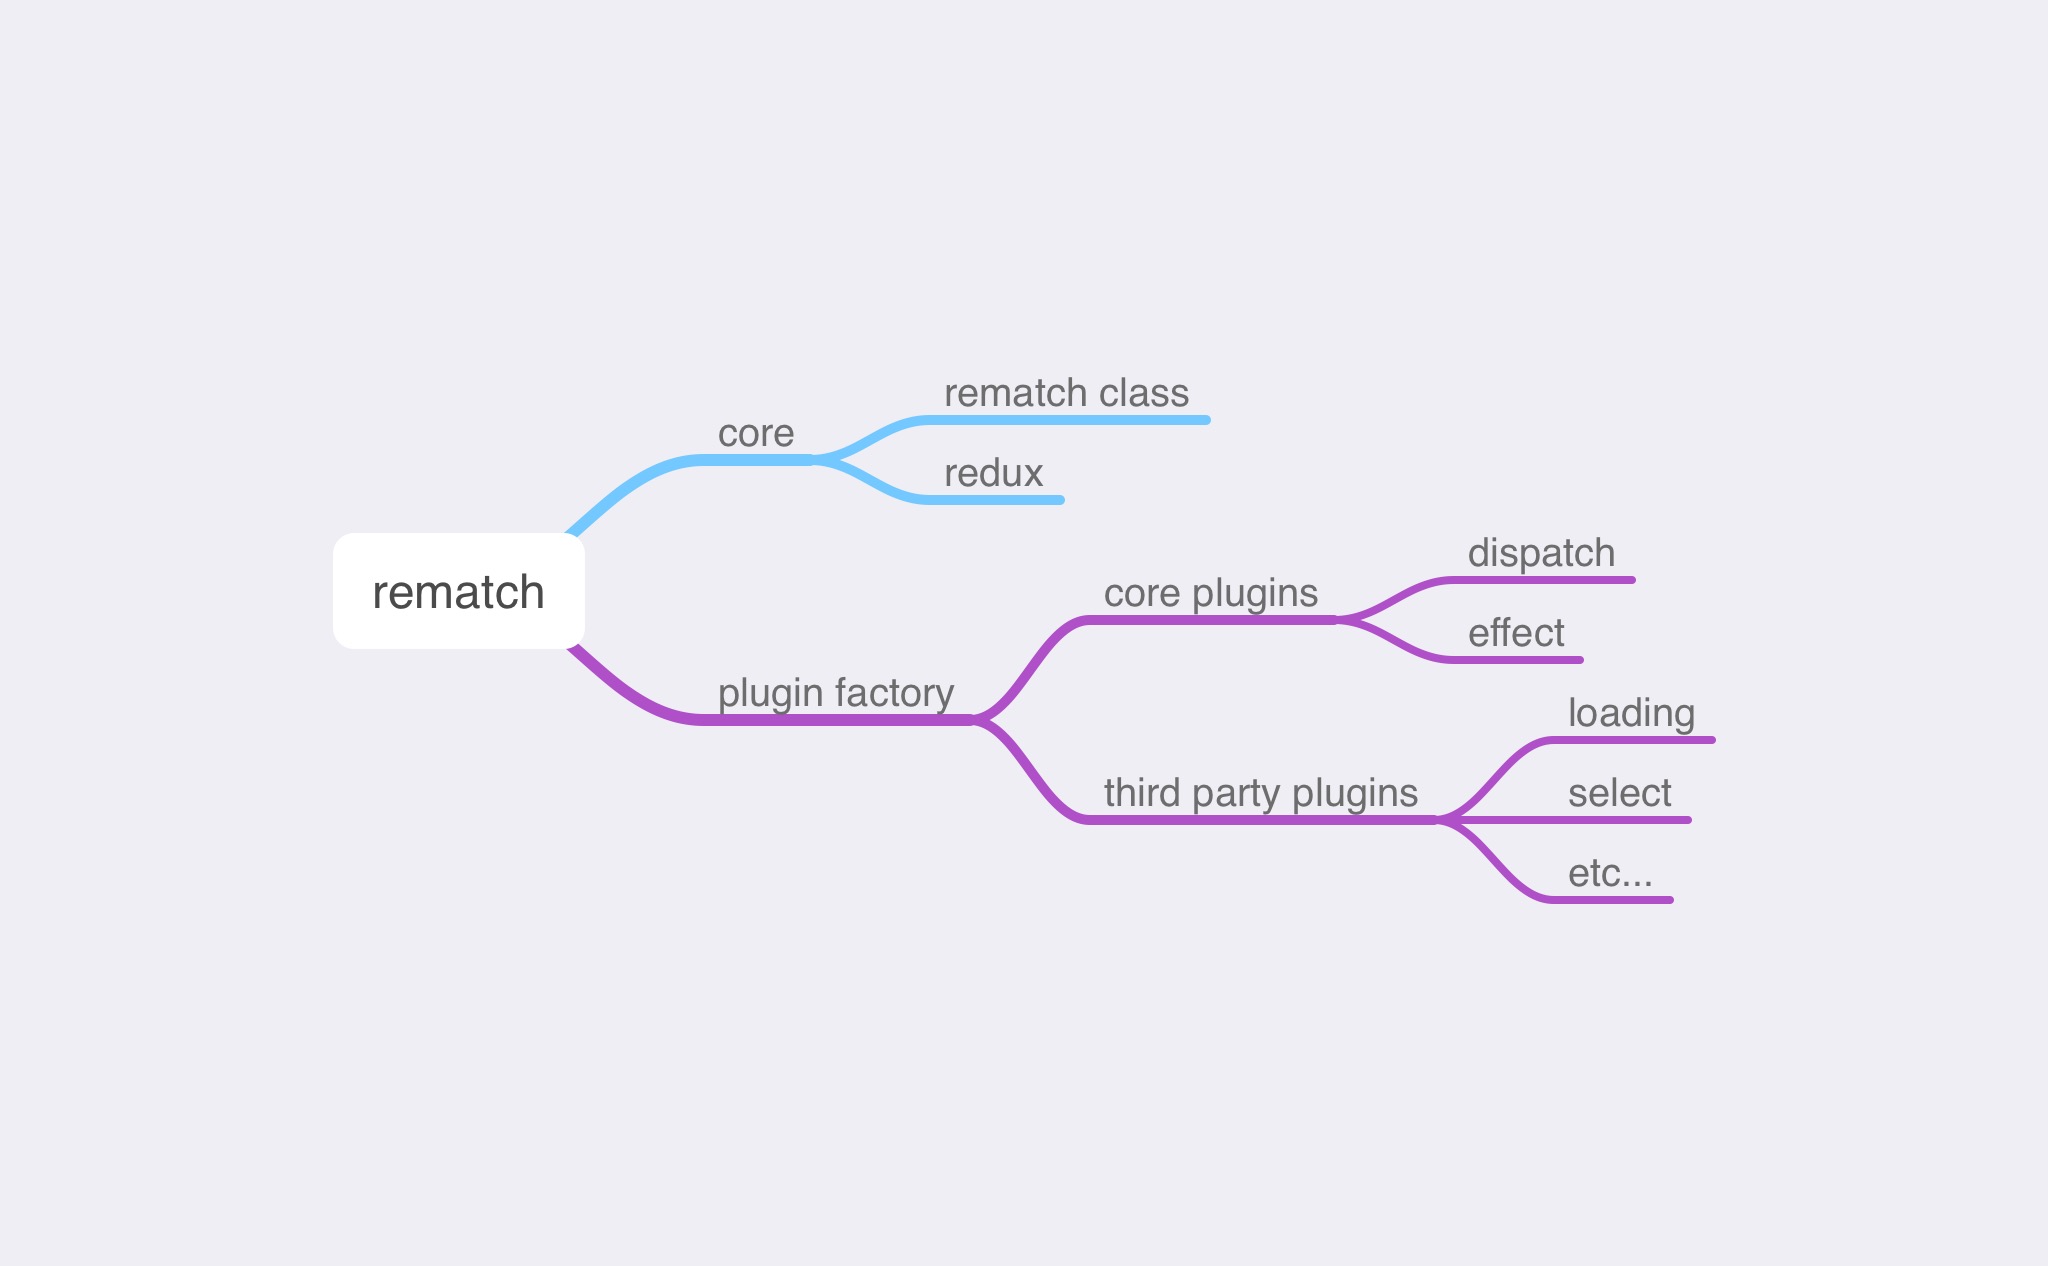
rematch 由 core 和 plugin 组成,其中 core 分为两部分,分别是 rematch 类和 redux.ts 这个文件,前者为 rematch 核心源码,后者主要包含 reducer 合并的一些代码,用于创建 redux store。
而 plugin 是 rematch 提供的插件机制,用于增强 rematch 的功能,主要代码定义在 plugin factory 中。rematch core 中包含了两个核心的 plugin,分别是 dispatch 和 effect,dispatch 插件可以增强 store.dispatch 功能,让其支持链式调用。而 effect 插件主要是用于支持 async/await 这种异步模式。除了这两个 plugin,rematch 团队还开发了其他的第三方插件,例如 loading, select 等等,集成了异步请求 loading 状态和 selector。
接下来,我会分别讲解这些部分,拆细一点,就是 rematch core,plugin factory && core plugins,3rd party plugins,一共 3 篇文章。3 篇文章结束后,我还会写 2 篇文章,其中一篇为 rematch v1 到 v2 升级的变化,另一篇介绍 rematch 类型系统(这是升级到 v2 带来的最大变化)以及这个类型系统残留的一些问题和难点,与大家探讨。
敬请期待!


